
Distinguishing it from some other DEXes, BasicSwap uses atomic swaps, where the only transactions are on the blockchains of the two coins being swapped. When a direct atomic swap is not available for two cryptocurrencies on BasicSwap, a pair of atomic swaps can be used—the first to Particl and the second to the new cryptocurrency.
Because BasicSwap is a DEX, it can avoid the data‐leaking, risk‐inducing Know Your Customer (KYC) processes used by centralized exchanges. And the lack of a centralized controller removes a path to censorship and loss. If you can successfully run wallets of the two cryptocurrencies involved in an atomic swap, you can make the swap.
So how do you use it? BasicSwap is software you install on your own computer and interface with using a browser, like Firefox, Brave, or Chrome. We will go over how to install it and use it in the sections below.
When you install BasicSwap, you configure it for just the coins you want to use. This is because BasicSwap runs wallets for all those coins. Particl is always included. So if you plan to use BasicSwap to exchange Monero and PIVX, say, you will run Monero, Particl, and PIVX wallets. CPU, memory, and bandwidth resources are required for each, and overall resource consumption grows with the number of types of coins you want to exchange.
With this in mind, you may want to run BasicSwap on a separate computer from your main working computer. For full control, this is ideally at your physical location to reduce the risk of unwanted access, but it could also be on a Virtual Private Server (VPS) that is more easily acquired and reliable. In all cases, security matters, but should be considered in proportion to the value of the cryptocurrencies you plan to swap. If you plan to swap hundreds, rather than thousands or more, of USD value at a time, for example, a VPS could be a good choice because you are already trusting the VPS provider with your payments for that service. On the other hand, some atomic swaps require the swapper to stay online, and this factor could make a VPS a better choice.
In this article, we will install BasicSwap configured to exchange Monero and PIVX. This limits the coins used for swapping to privacy coins, giving fungibility on both sides of every swap.
Optional Use of a VPS
The discussion given in the sections below is applicable to both hosting at your location and hosting on a VPS. Before getting to that, though, steps for setting up a VPS in the best way are discussed here.
A PIVX user choosing to use a VPS for BasicSwap might consider hosting with Contabo, a cost‐effective hoster highly regarded in the PIVX community for supporting PIVX Masternodes. If you would like to go with Contabo, you can use the instructions for VPS acquisition for Masternodes found at the start of this PIVX community article: https://pivx.org/news/cost‐effective‐hosting‐of‐multiple‐pivx‐masternodes‐on‐ one‐vps. The same specifications for a four‐node VPS can be used for BasicSwap: 4 cores, 200 GB SSD, 8 GB RAM, 32 TB Traffic. The OS can be Ubuntu 20.04.
The BasicSwap installation process described in the sections below will work with an SSH interface like MobaXterm, as discussed in the Contabo VPS setup instructions, but this will be slow because all the browser interactions will need to go over the ssh connection. A better, faster approach is to either use a remote desktop tool like X2Go (https://wiki.x2go.org) or set up localhost tunnelling software like PageKite (https://pagekite.net) and run the browser on your local computer.
If you choose to use a remote desktop tool, X2Go is free and can be downloaded and used following these instructions from Digital Ocean (another good VPS provider liked by the PIVX community): https://www.digitalocean.com/community/tutorials/how‐to‐set‐up‐a‐remote‐desktop‐with‐x2go‐on‐ ubuntu‐20‐04. Choosing XFCE as a configuration parameter when prompted during setup is a good option.
If you have trouble with X2Go freezing after a time period, use the X2Go interface to turn off both the screen saver and power functions, and remove the screensaver on the VPS with the following command:
sudo apt-get remove xfce4-screensaver
If you chose to use localhost tunnelling software, PageKite is an option. It runs using Python 2.7 and is compatible with a Contabo VPS. You will probably want to run it with password protection (and possible IP domain protection). Here would be a typical command to run PageKite on your VPS (this command will make more sense after reading later sections in this document):
python2.7 pagekite.py 12700 yourdomain.pagekite.me +password/user=password
You will define “yourdomain” when registering with PageKite and should change user/password to unique values. After running this, you can point a browser on your desktop or laptop computer to yourdomain.pagekite.me to access your instance of BasicSwap. PageKite charges a monthly fee for this service, but it is free to try.
Keep in mind that running localhost tunnelling software like PageKite on your VPS by design gives centralized remote access to SimpleSwap. You may not want to trust the tunnelling provider with this. Remote desktop software like X2Go, on the other hand, ostensibly does not give others direct access, and for this reason, may be more comforting.
Installing BasicSwap
After you have either acquired a VPS or secured a local computer, you are ready to install the BasicSwap software. To do this, largely (while incorporating the modifications discussed below) follow the instructions given here: https://academy.particl.io/en/latest/basicswap‐ guides/basicswapguides_installation.html. If using Ubuntu on Contabo, follow the instructions for Linux, which can be found under the Linux (vs. Windows) tabs on the instructions.
For the example at hand, a change is needed to these referenced instructions. In step 6 of the “Configure the Docker Image” instructions, change the coins configuration to Monero and PIVX by changing the run command to the following:
export COINDATA_PATH=/var/data/coinswaps && docker run --rm -t --name swap_prepare -v $COINDATA_PATH:/coindata i_swapclient basicswap-prepare --datadir=/coindata --withcoins=monero,pivx -- htmlhost="0.0.0.0" --wshost="0.0.0.0" -- xmrrestoreheight=$CURRENT_XMR_HEIGHT --usebtcfastsync
BasicSwap uses a browser interface. You will need to have a browser, such as Firefox installed either on the computer running BasicSwap or on another computer on the same network. Under Linux, you can install Firefox with the following command:
apt install firefox
The instructions referenced above indicate at the last step to run a browser and point it to the simple‐ swap interface. You can do this straightaway after installing Firefox with a command like the following:
firefox http://localhost:12700
And with that, you are running BasicSwap. It will take some time for the wallets to sync, and you can monitor progress in this using the browser interface.
Before moving on to making swaps, there are a few steps not given in the above‐referenced instructions that may come in handy if you need to stop, restart, or update BasicSwap. Here they are:
1) To shut down BasicSwap, from the basicswap/docker directory: docker-compose stop
2) To update to the latest software: git pull
3) To build in the basicswap/docker folder: export COINDATA_PATH=/var/data/coinswaps && docker-compose build
4) To run: docker-compose up
5) To run in the background, with basicswap.log as the log folder (for example): docker-compose up > /root/basicswap.log &
Operating BasicSwap
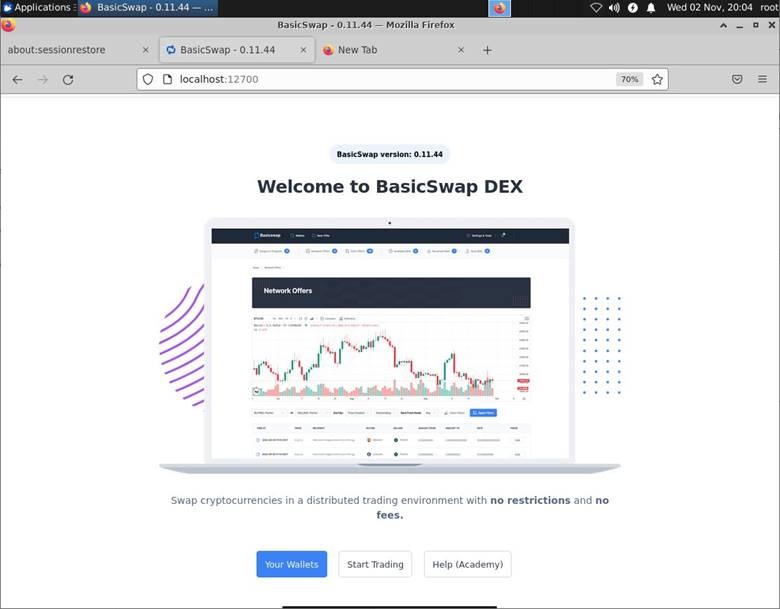
When you first start a browser and first point to the BasicSwap interface (http://localhost:12700), you will see something like the following:
You should start by clicking on the “Your Wallets” button to get an interface like this:
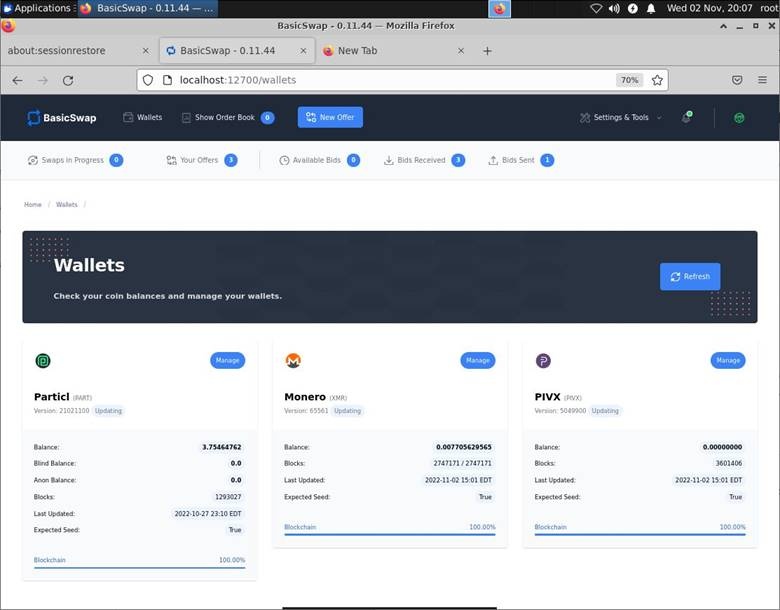
If you recently started BasicSwap one or more of your nodes/wallets may not yet be 100% synced—if so, you will need to wait for that wallet to finish downloading its blockchain. Only after all wallets are shown at 100% will you be ready to make swaps. Atomic swaps interact with both blockchains involved in the swap.
Accepting an Existing Offer to Make a Swap
You are able to make a swap either by accepting an offer that has already been made or by making your own new offer. These two paths start by, respectively, clicking either “Show Order Book” or “New Offer” in the bar at the top.
For example, clicking “Show Order Book” when there are orders will give a view like the following:
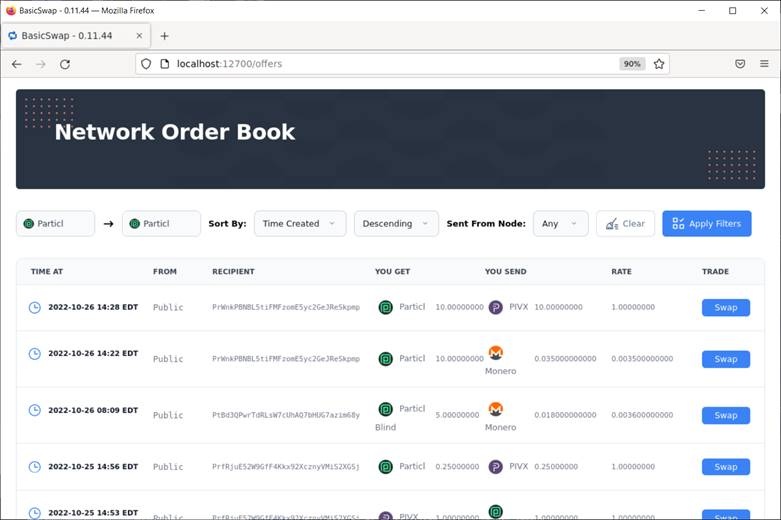
You can take most offers in whole or in part. Let’s say we pick the second offer above first, by clicking “Swap” to its right. This gives the following screen (only captures of the top and bottom of the resulting page are shown):
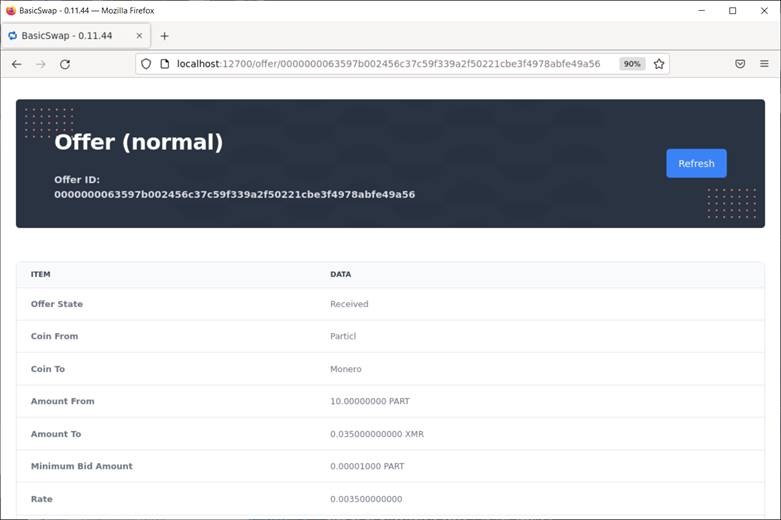
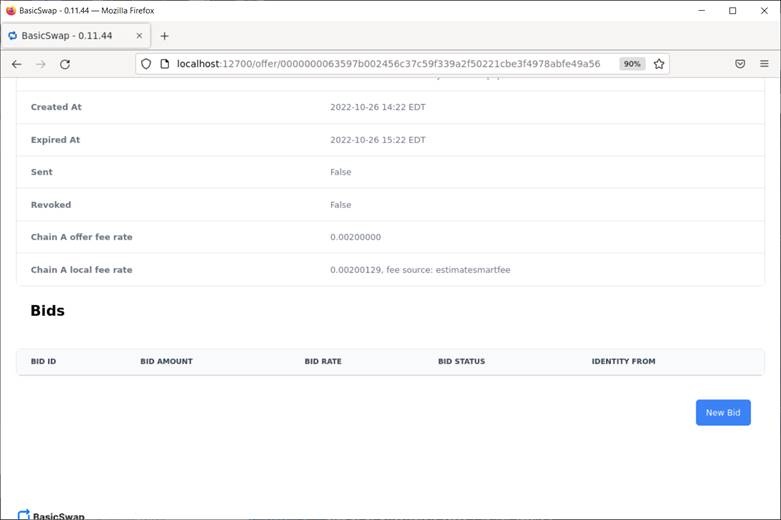
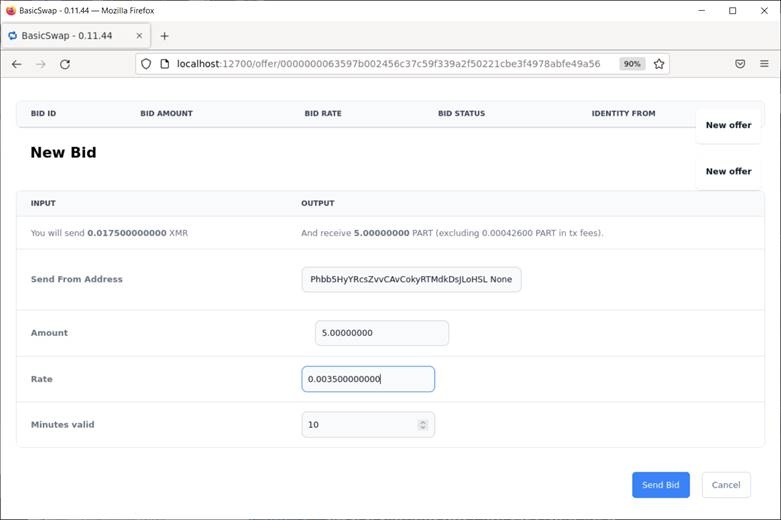
After you review this information and find it acceptable, click “New Bid” at the bottom and fill in the amounts, in a manner similar to that shown below. Note that for most offers, you can bid for a partial amount. After filling in the information, click “Send Bid” and then wait for the bid to be accepted followed by several minutes of processing to make the swap.
Initiating a Swap
Alternatively, if you don’t see an existing offer that meets your needs, you can create your own proposed swap by clicking “New Offer” to get a page like the following:
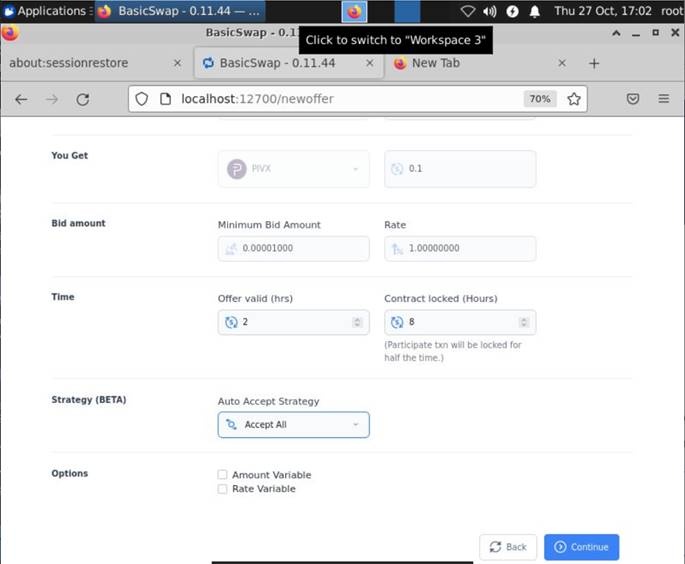
On this page, you can configure what you want to exchange and for what rate. You specify alternative locking time and offer validity time, though the defaults for this are fine. If you set the Auto Accept Strategy to “Accept All” then as soon as a bid is made that satisfies your requirements, it will be accepted—this makes for less work for you. After initiating a swap in this way, you will need to wait on bidders.
Both of these techniques—making a bid on an existing offer and making a new offer—can be used to exchange Monero for PIVX by first atomic swapping Monero for PART, then atomic swapping PART for PIVX. This process takes 30‐60 minutes, with most of the time spent on the Monero atomic swap.
Conclusion
Developers behind the Particl cryptocurrency have leveraged Particl to make a privacy‐focused DEX that can be used to exchange cryptocurrencies like Monero for PIVX without a third party. This requires installing the BasicSwap software, which will run a node/wallet for each of the cryptocurrencies you want to swap. This software can run on a computer at your location or on a VPS, and the setup is straightforward. BasicSwap gives you unlimited exchanges using software you control. There is no centralized exchange business overseeing your exchanges or holding your funds.